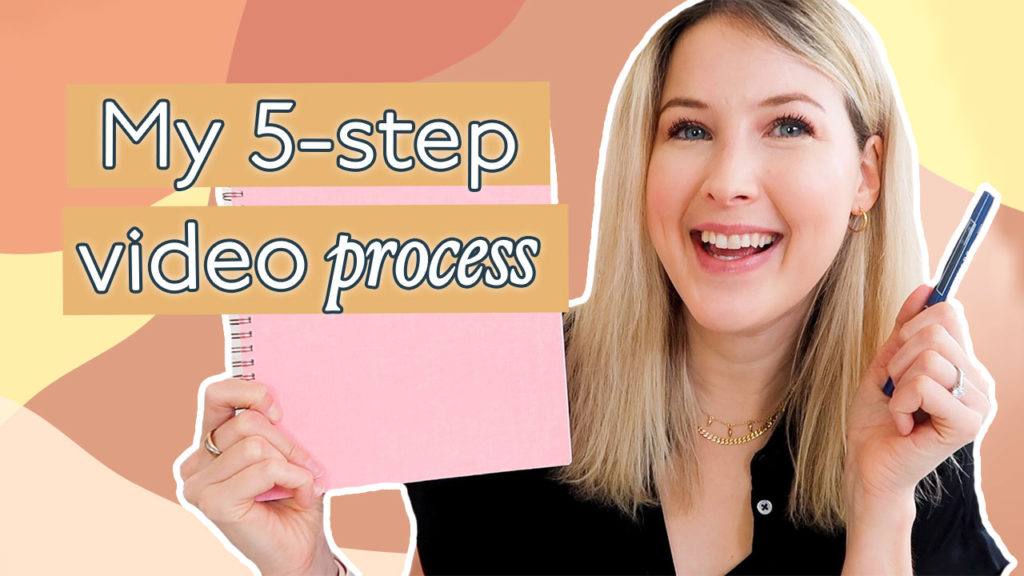
Do you get overwhelmed thinking about uploading videos? What do you film? How do you create and edit a video? In other words, where do you even start?! And what does the video process look like?
Trust me, I’ve been there. Over the years, I’ve developed a process for creating videos that really works for me. And to save you the headache and hassle of fumbling through it on your own, I’m gonna share that super-secret, ultra-advanced video process with you step-by-step.
Kidding. It’s not that advanced. Or secret, since it’s up on YouTube…
Anyway, let’s dive into my 5-step video process!

Step 1: Research a topic
My first step, research, can go two ways. Either I research different topics for a video and I decide which one to film now, or I’ve already picked a topic and I’m researching articles or books to create an outline for my video.
Part of your research should be spent on YouTube seeing what other people have said about this topic already. If there aren’t many videos out there on the topic, then you know you should film a video about it. If there are a lot of videos already, then think of something new to bring to the table. Do you agree or disagree with general opinion? What’s your unique perspective?
Step 2: Write an outline
Writing an outline for filming a video may seem a little silly, especially if you prefer to talk off-the-cuff. I totally get it, because I like more of a freestyle flow when I’m on camera.
My outline usually consists of bullet points, which give me a simple structure for my video. I always struggle with how to begin a video, so what I like to do is write out the very first sentence of the video. After I’ve introduced myself and/or the topic, it’s pretty easy for me to talk candidly, using the bullet points to keep me on topic.
Step 3: Film your video
This step covers actually filming your video, of course, but it also includes all the preparation before you start filming. Making sure your camera batteries are charged, that you have enough space on your SD card, even what the weather is like to see if you have to make adjustments to lighting or recording.
When it comes to actually filming, I like to make sure I have my notes in front of me and coffee to keep me in the zone. I also have a top secret tip for shaking off nerves before I get on camera.
Step 4: Edit your video
Love editing? Love videos with lots of cuts and effects and graphics? Then you do you! You can get as advanced as you want with your editing and have fun with it, because it’s your video.
I like to keep my videos simple, so for me, this step involves uploading the raw footage off my camera pretty quickly onto my computer. As for editing software, I use Final Cut Pro right now, but I used iMovie for the first two years of my YouTube channel.
I definitely recommend first starting out with free software and getting really comfortable with it. Once you’re ready to move on to something bigger and better, you can invest in editing software.
Step 5: Upload your video and promote it
Uploading sounds pretty simple and straightforward, but there are a lot of small details to think about. I like to make sure that I have a custom thumbnail in place, and that I have my title, description box, and SEO keywords written out.
When it comes to promoting your video, you want to promote it more than once. Yes, you should link it on your social media platforms and your website and your newsletter, but don’t stop there! Keep reminding people that your video exists. Google Search and SEO will help your video get seen, but you also have to put in the effort on your end so that your audience sees it.
Want to learn even more about creating videos for your business?
Hopefully, outlining my 5-step process gave you the nudge you needed to actually get started on filming videos for your business! But if you need extra guidance, then check out my video group coaching program!
In this program, I help small business owners create videos for their own business. The program is NOW OPEN for enrollment, so sign up today to save your spot. Hope to see you there!

+ show Comments
- Hide Comments
add a comment